
How To: Resize images in Adobe Photoshop
- Feb 11, 2023
- 2 min read
Updated: Apr 19, 2023
Whether you need to resize your images to meet our eligibility requirements or you're just a bit unfamiliar with best practices when approaching resizing images, this is the guide for you! This is a very easy process and we'll lay it all out in a step-by-step guide. Please note, the Photoshop version used for this example is Creative Cloud's most up-to-date Photoshop 2023, running on a Mac. Your layout pay differ slightly if working on Windows or if you're using a different version of Photoshop, but the principles are the same.
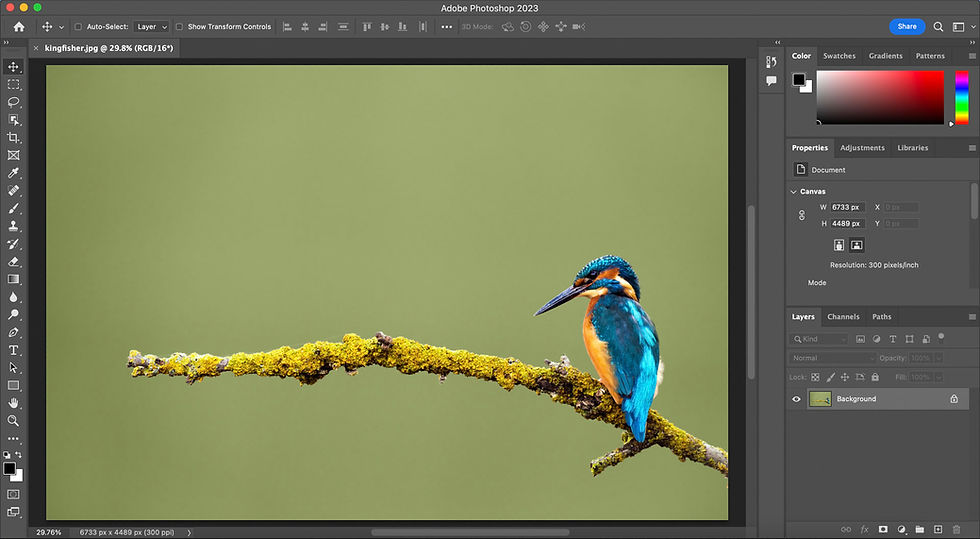
1. Open your image in Photoshop: To open an image in Photoshop, click on the "File" menu, select "Open" and then choose the image you want to resize.
2. Go to the "Image" menu: Once your image is open in Photoshop, go to the "Image" menu and select "Image Size." This will bring up the Image Size dialog box.

3. Check the image's dimensions: In the Image Size dialog box, you'll see the current dimensions of your image in pixels. Take note of the width and height of your image, as well as the resolution.

4. Change the size of the image: To resize the image, change either the width, height, or both. You can also change the resolution of the image. Keep in mind that changing the resolution will affect the size of the image. For example, if you increase the resolution, the image will become smaller, and if you decrease the resolution, the image will become larger.

note: If you're resizing imagery specifically for WILD Photo Awards submissions, you should make sure you're resizing your images to 1920 pixels on their longest side.
5. Select the interpolation method: When you resize an image, you need to choose an interpolation method. This determines how the pixels in the image are resampled to create the new, larger or smaller image. In general, "Bicubic Smoother" is a good choice for images that are being resized up, and "Bicubic Sharper" is a good choice for images that are being resized down.

6. Apply the changes: When you're satisfied with the changes, click on the "OK" button. This will apply the changes and close the Image Size dialog box.

7. Save the image: Finally, save the resized image by going to the "File" menu, selecting "Save As", choosing the format you want to save it in, and giving it a new name.

That's it! With these simple steps, you can easily resize images in Adobe Photoshop. If you're now ready to submit your entries to our competition, click the button below.

This post is a super helpful walkthrough for anyone navigating Photoshop’s resizing tools—especially when precision matters for submissions. For those looking for a faster or more accessible option, a dedicated photo size reducer or photo resizer by cm can be a game-changer. Whether you need to pic resize online or adjust dimensions with exact centimeter control, Image Magic Tool offers a streamlined way to get it done—no software required.